Let's Build Instagram Part 5 - Liking Larry's Legs (Step Two)
5 November 2015
Let’s Build Instagram Part 5 - Liking Larry’s Legs (Step Two)
Part One - CRUD actions for our posts, each with an image and caption.
Part Two - User functionality with registration and sign-in forms. Also, Adding comments to posts via AJAX.
Part Three - We paginate our posts and comments and also create beautiful registration and login forms
Part Five (Step One) - Adding likes to our users posts.
Bonus Guides - The associated testing handbooks for Part One - CRUD & Part Two - Users & Comments.
We finished a little abruptly last time and didn’t have a finished feature built out. Let’s solve this now.
Here’s what we’ll add to this step of Part 5 - Adding likes to Photogram:
- The little like heart will turn solid red upon our clicking it.
- If a post has less than or equal to 8 likers, we’ll list their names. If it has any more, we’ll display the number of likers.
- Your user name is automatically added to the list of likers or the ‘liked by’ number is increased by one upon liking.
- We can un-like a post by clicking the button again.
Don’t implode with excitement, keep reading instead!
Step One: Change the heart solid upon liking
Let’s start small, let’s make sure that the heart turns solid red upon successfully liking Larry’s legs. In Step One of this feature, we made sure that clicking the button does in fact ‘like’ the post, the problem is that it doesn’t actually show it. The ‘like’ action in the PostsController can return javascript thanks to this code:
respond_to do |format|
  format.html { redirect_to :back }
  format.js
end
So let’s start writing some javascript in the form of jQuery to get something happening! Create a new file within the app/views/posts folder and call it ‘like.js.erb’. Our jQuery will be held here. Within that file, type the following:
$("#like_<%= @post.id %>").removeClass('glyphicon-heart-empty').addClass('glyphicon-heart');
This is finding the specific post we’ve liked by it’s unique ID and we’re removing the empty heart glyphicon and replacing it with the regular version. Simple!
Now, something that you will notice at this point is that if you’ve previously liked a post, it’ll still be showing up as an empty heart. This is because in our _post.html.haml partial, we’ve hardcoded that glyphicon in like so:
=link_to '', like_post_path(post.id), remote: true,
                                              id: "like_#{post.id}",
                                              class: "glyphicon glyphicon-heart-empty"
Let’s adjust it so it’ll check if we’ve liked the post and adjust the class name appropriately.
First, change the above code to this:
=link_to '', like_post_path(post.id), remote: true,
                                              id: "like_#{post.id}",
                                              class: "glyphicon #{liked_post post}"
The liked_post helper method will determine whether we’ve liked the post and will then return the appropriate class. Open up the app/helpers/posts_helper.rb file and add the following method (make sure it’s not a private method):
def liked_post(post)
    return 'glyphicon-heart' if current_user.voted_for? post
    'glyphicon-heart-empty'
  end
Last but not least, in order to get the voted_for? method in the above code working, you’ll need to add acts_as_voter to your app/models/user.rb file. Here’s how my user.rb file looks:
class User < ActiveRecord::Base
  acts_as_voter
  # Include default devise modules. Others available are:
  # :confirmable, :lockable, :timeoutable and :omniauthable
  validates :user_name, presence: true, length: { minimum: 4, maximum: 12 }

  devise :database_authenticatable, :registerable,
         :recoverable, :rememberable, :trackable, :validatable

  has_many :posts, dependent: :destroy
  has_many :comments, dependent: :destroy

  has_attached_file :avatar, styles: { medium: '152x152#' }
  validates_attachment_content_type :avatar, content_type: /\Aimage\/.*\Z/
end
This is explained in the acts_as_votable docs and is just giving us some handy methods to add to our toolbox when dealing with our likes.
So, refresh your dashboard now and you should be greeted with some nice, solid (albeit blue) hearts.
Also, if you like a post that you haven’t previously liked now, you’ll get a lovely transition from empty to solid love-heart. We’re getting there!
## Step Two: Displaying Likes in Two Ways
As mentioned earlier in the article, Instagram displays their like counts in two ways.
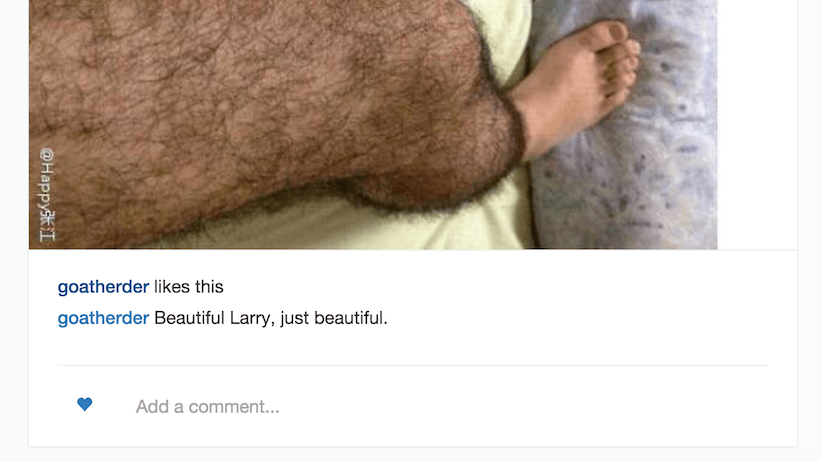
When there’s only a few likes, list all the names under the image:
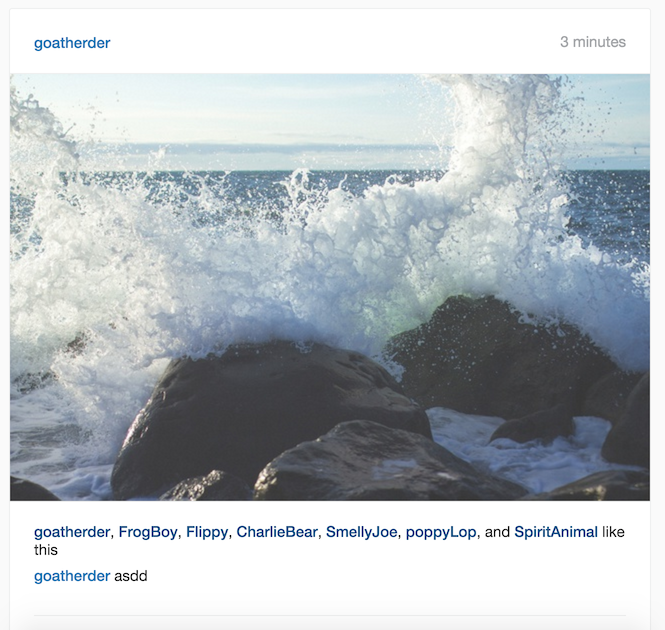
When there’s lots of likes, just list the like count:

We’ll do the same. At the moment, we’re listing out the names with our helper methods BUT we’re also listing the names to infinity, meaning that the names will continue forever, making our application look ridiculous. Let’s fix it.
First, let’s display a like count for a post if it has more than 8 seperate likes. First though, try it yourself! Think about it like this, for the sake of your helper methods:
- Your view calls a
display_likeshelper method (yet this is a different name than we used in step one). - If the post has less than or equal to 8 likes, call our previous
list_likersmethod. - If the post has more than 8 likes, call a new method,
count_likers, which will display the like count, followed with ‘likes’.
Instagram will make that like count a clickable list of likers but we’re not too worried about that for the sake of this tutorial (at this stage).

Here’s how I tidied up my Posts Helper and created some extra logic for displaying the two different forms of ‘likers’. I’ll post the whole helper file here for the sake of context:
module PostsHelper
  def display_likes(post)
    votes = post.votes_for.up.by_type(User)
    return list_likers(votes) if votes.size <= 8
    count_likers(votes)
  end

  def liked_post(post)
    return 'glyphicon-heart' if current_user.voted_for? post
    'glyphicon-heart-empty'
  end

  private

  def list_likers(votes)
    user_names = []
    unless votes.blank?
      votes.voters.each do |voter|
        user_names.push(link_to voter.user_name,
                                profile_path(voter.user_name),
                                class: 'user-name')
      end
      user_names.to_sentence.html_safe + like_plural(votes)
    end
  end

  def count_likers(votes)
    vote_count = votes.size
    vote_count.to_s + ' likes'
  end

  def like_plural(votes)
    return ' like this' if votes.count > 1
    ' likes this'
  end
end
There HAVE been some method name changes in the revision above for the sake of clarity so please take note of that. But really, the logic is as simple as I mention above the goat. Check for the like count, call the appropriate method. Beautiful!
Step Three: Instantly adding our like
So, now that clicking the like button makes the like heart turn solid red, we now want our name added to the list of likers instantly or to have the ‘like count’ incremented by one.
Let’s create this feature now.
We’ll have to think of three scenarios:
- There are currently no likes on the post.
- There are currently 8 or less likes on the post.
- There are currently more than 8 likes on the post.
We’ll have to cater for each to make sure the experience is lovely for our users. But wait, what if we could just re-render that whole partial ‘likes’ area with our updated information? That would then call our helper method and take care of all of that for us!
Open up the app/views/posts/like.js.erb file you created earlier and add the following code. I’ll explain how it works afterwards.
$("#like_<%= @post.id %>").removeClass('glyphicon-heart-empty').addClass('glyphicon-heart');
$("#likes_<%= @post.id %>").html("<%= j (render partial: 'posts/likes', locals: { post: @post} ) %>");
First things first, do you notice the reference to the div id #likes_<%= @post.id %>? Well, you’re going to have to add it to your views.
Update your app/views/posts/_likes.html.haml view as per below:
.likes{id: "likes_#{post.id}"}
  = display_likes post
Remember, all this does is give us a very specific location for javascript to do it’s thang. Each post.id is unique, so we know that jQuery will always be looking at the right post when it updates.
Now, in the jQuery above, all we’re doing is this:
- Finding the appropriate post ‘likes’ id element.
- Changing the html of that element to the rendered
_likes.html.hamlpartial WITH the new information it’ll have from our AJAX call.
To summarise: Our user-name will be added to the list!
Now, this isn’t an ideal solution for this problem for one simple reason: We’re making extra calls to the server every time we like a post (or dislike a post). How else could we achieve the same effect?
Just create a facade of adding names to the list with javascript. Rather than re-render that whole element with the partial every single time, just have some javascript running that will append the current_user’s user name to the likers list.
It’d be much more efficient and I recommend you try to create it yourself.
Step Four: Unliking Likes
I’m going to leave this to you. No, seriously I am. Want me to give you some answers below the goat? Nope. It’s all on you.
I will give you some really great hints though:
- Could we expand our
liked_posthelper method to actually include thelink_tohelper as well? That way, if the user has already liked a post, we could change the link to point to the unlike_post_path, rather than the like_post_path. - What if we added some extra logic to the javascript file, so that not only will clicking on our new link adjust the class of our little heart, but also changed the link itself?
- What would the logic in a
unlike.js.erbfile look like? Probably pretty similar to that found in thelike.js.erbfile, no? - What would the new
unlikeaction look like in the posts controller? Pretty similar to thelikeaction I imagine, just using some differentacts_as_votablemethods…
And that’s it. Some simple steps to making a brand new unlike feature. Go forth and create something cool using what you’ve learnt so far by building the likes. I assure you it’s very, very similar and you’re awesome enough to do it.
Step Five: Hearts are Red
Now lets very simply style our little heart so that it looks a little nicer for our users (they’re very picky). At the moment, our heart is the default blue colour found in our app for all links, and we also get an ugly little underline on the heart when hovering with our mouse.
Jump on into your app/assets/stylesheets/application.scss file and add the following code to the bottom:
.like {
  text-decoration: none;
  color: red;
}

.like-button a:hover, a:focus {
  text-decoration: none;
  color: red;
}
You’ll have to add the like-button class to your app/views/posts/_post.html.haml file like so:
    .comment-like-form.row
      .col-sm-1.like-button
        =link_to '', like_post_path(post.id), remote: true,
                                              id: "like_#{post.id}",
                                              class: "like glyphicon #{liked_post post}"
And the little love heart will now look a little better. Does it look Instagram good? No, no it doesn’t. But it looks better than it did!
Fixing failing tests
We’ve been a little naughty, in the last few guides we haven’t actively fixed our failing tests due to the shared format of the articles. It’d be unfortunate for the non-testers out there to have to read gross testing related information so here we’ll fix our failures once and for all.
First, if you’re testing, good for you. You’re awesome.
Second, here’s the main error we’re encountering at the moment:
Ambiguous match, found 2 elements matching #Insert bad thing here
So all we need to do is ensure that we’re pointing our tests to the right element on the page! Let’s have a brief look at a specific error:
1) deleting posts can delete a post via the interface
     Failure/Error: find(:xpath, "//a[contains(@href,'posts/1')]").click
     Capybara::Ambiguous:
       Ambiguous match, found 2 elements matching xpath "//a[contains(@href,'posts/1')]"
Ambiguous eh? We’ll see about that!
In this particular case, it’s identifying two different paths that link to the post we’re trying to find. That’s an easy fix, let’s just use the first element that Capybara identifies on the page.
In the above test, we’ll just add the match: :first argument to our find method to ensure we’re only getting one result. This particular scenario now looks like:
scenario 'can delete a post via the interface' do
  visit '/'
  find(:xpath, "//a[contains(@href,'posts/1')]", match: :first).click
  click_link 'Edit Post'
  click_link 'Delete Post'

  expect(page).to have_content('Your post has been deleted.')
  expect(page).to_not have_content('Abs for days.')
end
If you re-run Rspec, you should now have one less failing test.
Go ahead and adjust the remaining failing tests with this simple argument addition. In some cases though, you’ll be using the click_link method, rather than the xpath. In those cases, the solution is just as simple. For example, here’s how we use the first identified link in the viewing_profiles_spec.rb file:
click_link 'Arnie', match: :first
With this simple adjustment, your tests will now look a million dollars.
The end for now
So we’ve now added another big feature to Photogram, liking each other’s posts. To finish of the series, we’re going to finally add the following / follower relationship to our users. This is going to be a big one, and may take me a few weeks to write. In the meantime I’ll write other articles which I hope are just as useful.
Another question that has been asked is this, “Should we just use a javascript front-end framework for an application like this, where we’re playing with javascript a lot?”. And the answer is almost certainly yes.
Instagram itself uses ReactJS for the front-end, so why bother using rails and jQuery?
Because it’s great to see what can be done with Rails itself and it helps piece together the Rails puzzle. The javascript in the series so far hasn’t been too awful and messy so for a project of this scope, so in the grand scheme of things it’s probably fine.
Until next time my friend, stay frosty and know that you’re awesome.