Let's Build Instagram Part 6 - Notifications
05 February 2016
Previously on Let’s Build Instagram
Part One - CRUD actions for our posts, each with an image and caption.
Part Two - User functionality with registration and sign-in forms. Also, Adding comments to posts via AJAX.
Part Three - We paginate our posts and comments and also create beautiful registration and login forms.
Part Five (Step One) - Adding likes to our users posts.
Part Five (Step Two) - The nitty gritty of our like feature
Bonus Guides - The associated testing handbooks for Part One - CRUD & Part Two - Users & Comments.
Onto the article!
I’m Living the Dream
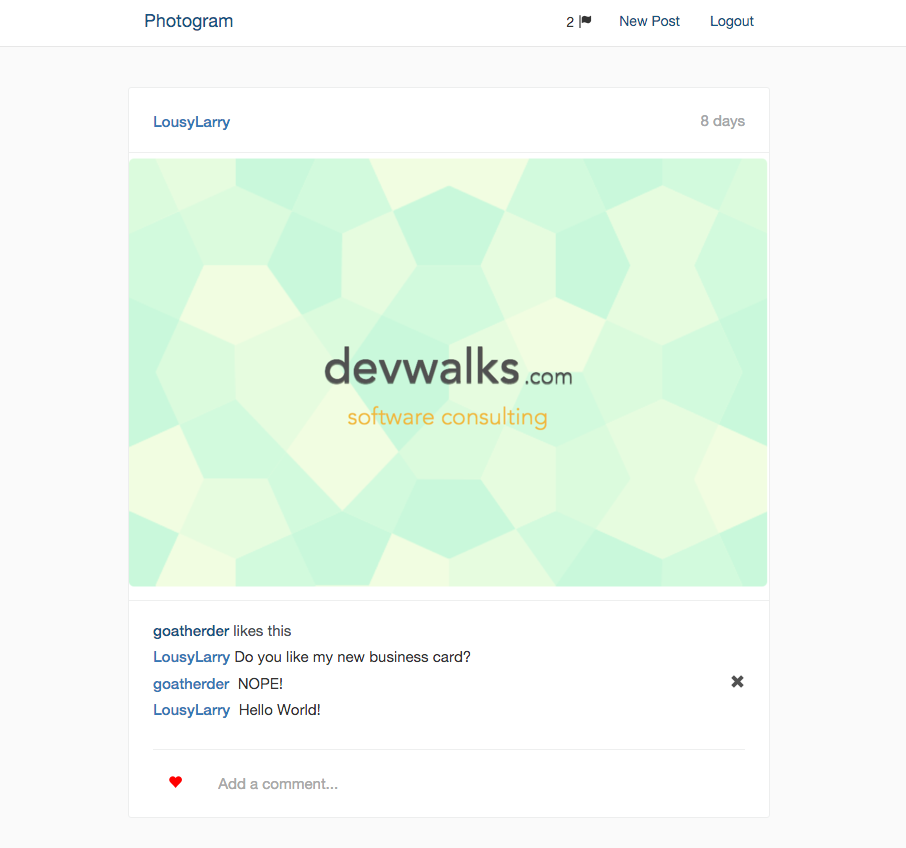
As a result of my incredible life, a HUGE amount of attractive people are commenting on my Photogram posts (We’ve been building Instagram with Ruby on Rails here on Devwalks for a while) and I want to be notified of it!
If I don’t have any knowledge of people attempting to be social with me, what the hell’s the point of this social network?
I have no idea.
Luckily for me, I have developed a very particular set of skills. Skills I have acquired over a very long career. Skills that make me a nightmare for features like this.
Let’s build a notifications feature in Photogram (or any Rails app at all).
What will this feature look like?
This feature is going to be more Facebook than Instagram in that we’re going to have a little icon in our top navbar that we can click, giving us a small paginated list of notifications. Once we’ve had a glance at the notifications, we can either click one to be taken to the appropriate comment or we can click a ‘View all notifications’ link that will take us to a separate page with a complete list of notifications.
Also, we want to make sure that our notifications can be classed as read or unread. We don’t want to annoy our users with old notifications, that would be the worst.
Now, why would a user be notified? There are a few scenarios:
- Someone comments on one of our rad photos.
- Someone likes one of our posts.
We could also create a feature where we get notified if someone makes a comment in a thread we’ve also commented in but this is one of my least favourite Facebook notification features, so let’s not encourage it any further. If you want to challenge yourself, try to build it yourself. I’d recommend using a Subscription model and creating a many to many relationship between Users & Posts through subscriptions.
Sounds good, time to get nerdy.
The Notification Model
First, let’s generate a model for our notifications. We’re going to want to reference a few things in our model:
- The user who’s made the new comment or like.
- The user who owns the post that has been affected.
- The post which the user is commenting or liking.
- The id of the comment.
- The type of notification it is, a comment or like.
- Whether or not the notification has been read.
I believe in you. Yes you. I think that you are wonderful enough to generate this model by yourself in the terminal. Go forth and generate (but don’t migrate just yet).

How’d you go? Of course you went great! Here’s how I’d do it (your way was probably better). I just tapped the following away in my terminal:
rails g model Notification user:references subscribed_user:references post:references identifier:integer type:string read:boolean
Once that’s complete, make sure your migration file looks something like the following:
class CreateNotifications < ActiveRecord::Migration
  def change
    create_table :notifications do |t|
      t.references :user, index: true
      t.references :notified_by, index: true
      t.references :post, index: true
      t.integer :identifier
      t.string :notice_type
      t.boolean :read, default: false

      t.timestamps null: false
    end
    add_foreign_key :notifications, :users
    add_foreign_key :notifications, :users, column: :notified_by_id
    add_foreign_key :notifications, :posts
  end
end
Once you’ve perused the above and you’re happy that your migration matches, you can jump back in your terminal and migrate.
rake db:migrate
Nice work!
Let’s hook up the internals of our models now by stating the relationships in the model classes. Open the app/models/notification.rb file and add the User class name to the notified_by line.
belongs_to :notified_by, class_name: 'User'
belongs_to :user
belongs_to :post
Alright, so each notification is referencing a notified_by user in the User model, a regular old user (who we’ll attach the notification to) and a regular old post. Let’s quickly add a validation to the model as well.
validates :user_id, :notified_by_id, :post_id, :identifier, :notice_type, presence: true
Now it’s time to sort out our other two affected models. First, let’s adjust the User model. Add this line to the relationships area.
has_many :notifications, dependent: :destroy
And the same to our Post model.
has_many :notifications, dependent: :destroy
Now that we have our model sorted, you’d think that we’d generate a controller but first, let’s see how we’ll slot our notifications into our current system.
Open up your comments controller at app/controllers/comments_controller.rb. Pan your eyes to the create action and check out the current flow. We build a comment based on the comment params and assign a user id. If that comment saves, we go ahead and respond with some javascript that updates the user’s page. Let’s add another line to create a notification.
Underneath the if @comment.save line, add the following:
if @comment.save
      create_notification @post, @comment
      respond_to do |format|
        format.html { redirect_to root_path }
        format.js
      end
Now that method doesn’t exist yet, so underneath the private line in your controller (we don’t want this method called outside this controller), add our new method.
Give it a go yourself now. We’re going to have method that takes the post as an argument. In that method, all we’re we’re doing is creating a new notification object, by assigning it’s attributes from the post argument and the current_user. Also, make sure a user isn’t notified if they’re commenting on their own post. That’d be annoying.
Good luck!
Here’s my brand new create_notification method:
def create_notification(post, comment)
	return if post.user.id == current_user.id
    Notification.create(user_id: post.user.id,
                        notified_by_id: current_user.id,
                        post_id: post.id,
			            comment_id: comment.id,
                        notice_type: 'comment')
end
How easy is that!
Let’s test it now. Get your Photogram server running, log in and comment on an existing post, making sure the logged in user and the creator of the post aren’t the same user. Once you’ve done that, jump into your terminal and make sure that the notifications are being created.
In your terminal:
rails c #to run the console
n = Notification.last # The notification should appear!
user = User.where(email: '[email protected]').first # How I found my user who should be notified
user.notifications # Should list out all the appropriate notifications!
Hopefully you’re starting to get an idea on how we’ll implement this feature in our UI now that you can see how easy it is to access notifications associated to a specific user.
Let’s start building out the UI for this feature now.
Showing Notifications
We’re going to add a preview of our available notifications to our horizontal navbar at the top of the page, as per Facebook. Open the navbar partial file at app/views/layouts/_navbar.html.haml and add the following underneath the user_signed_in? helper:
        - if user_signed_in?
          %li
            .dropdown.notification-dropdown
              %button.btn.btn-default.dropdown-toggle{ type: 'button', id: 'dropdownMenu1', data: { toggle: 'dropdown' }, 'aria-haspopup': true, 'aria-expanded': true }
                5
                %span.glyphicon.glyphicon-flag
              %ul.dropdown-menu{ 'aria-labelledby': 'dropdownMenu1' }
                %li.dropdown-header.text-center Notifications
                %li
                  %a{ href: '#' } Notification 1
                %li
                  %a{ href: '#' } Notification 2
          %li
            = link_to "New Post", new_post_path
Reload Photogram and you’ll see a pretty basic demo of what we’re going to have at the end of the day. Fix up the styling quickly by adding the following SCSS to your app/assets/stylesheets/application.scss file:
.notification-dropdown {
  margin-top: 10px;
  button {
    border: none;
  }
}
Now, rather than pollute our navbar with extra code, let’s move our notifications dropdown box into its own partial. Cut everything notification related under the list tag and paste it into a new file under views/notifications (you’ll have to create the folder) called _notificiation_dropdown.html.haml. Now, add the render method to the list tag like so:
        - if user_signed_in?
          %li
            = render 'notifications/notification_dropdown'
          %li
            = link_to "New Post", new_post_path
Alright. Time to get dynamic.
Adding Real Data & Notifications
First, let’s change our placeholder ‘5’ in our notifications dropdown with the actually count of ALL of the current user’s notifications (we’ll change this in future to show only the unread notifications).
Change the line with the lone ‘5’ to instead show the following:
= current_user.notifications.count
Refresh your Photogram feed and at the very least, the number will have changed. If, like me, you’re showing 0 notifications, log in as a different user in a private browser and make a few comments on the posts belonging to the original user.
Head on back to the original browser window and refresh. If everything worked as it should’ve you’ll be blessed with a number higher than 0.
How good is this? We’re accessing our notifications just as we should. Let’s now list ALL of the notifications we have for the current user.
And I want you to try first. Here’s how you’ll have to do it.
- Create a new partial called
_notification.html.hamlin yourviews/notificationsfolder. This partial will be in control of each<li>item in the drop-down menu. - Loop through your notifications in the
_notification_dropdown.html.hamlpartial. You’ll have to create a_notification.html.hamlpartial that will act as the placeholder for each individual notification. - You’ll want each notification to reference the user name of the user who created the notification and the type of notification (comment or like).
- Use a
link_tohelper and actually link each notification to the appropriate post.
Good luck my friend, I believe in you.
Alright! Here’s how I achieved our simple notification system.
Here’s my complete _notification_dropdown.html.haml file:
.dropdown.notification-dropdown
  %button.btn.btn-default.dropdown-toggle{ type: 'button', id: 'dropdownMenu1', data: { toggle: 'dropdown' }, 'aria-haspopup': true, 'aria-expanded': true }
    = current_user.notifications.count
    %span.glyphicon.glyphicon-flag
  %ul.dropdown-menu{ 'aria-labelledby': 'dropdownMenu1' }
    %li.dropdown-header.text-center Notifications
    = render current_user.notifications.order('created_at DESC')
Notice I’ve just replaced our <li> tags with the render method.
I then created the _notification.html.haml partial I mentioned above.
%li
  = link_to "#{notification.notified_by.user_name} has #{notification.notice_type}ed on your post", post_path(notification.post)
It’s pretty simple, really. In our string, we access details about the notification, hack together a plural version of ‘comment’ and link to the post_path of the appropriate post.
Give it a go now and implement it into your own application. Click around and make sure it’s all working as you’d expect.
Marking notifications as read
I’m super happy that I can now navigate to posts that I have notifications for, but my notifications are now plagued with old notifications I don’t care about any more! How can we mark a notification as ‘read’ after we’ve navigated to the post?
Here’s how:
Create a notification controller with a link_through action via the Rails generator in your terminal.
rails g controller Notifications link_through
Open up your new app/controllers/notifications_controller.rb and adjust the link_through action as below:
def link_through
  @notification = Notification.find(params[:id])
  @notification.update read: true
  redirect_to post_path @notification.post
end
We’re retrieving a notification via the :id url param (more on this next) and then setting the read attribute to true. Once this is complete we redirect the user to the appropriate post.
Now, how do we get our :id param? We’ll add it to the route for this action. A route was generated for our action automatically but we’ll adjust it now. Open up the config/routes.rb file and change the generated line:
  get 'notifications/:id/link_through', to: 'notifications#link_through',
                                        as: :link_through
This gives us our :id param we need to find the appropriate notification and also gives us a handy name to use in our link_to helper methods in our views.
Last but not least, let’s adjust our link_to helper method in our _notification.html.haml view so that it’s linking to our new action, rather than the old post_path.
= link_to "#{notification.notified_by.user_name} has #{notification.notice_type}ed on your post", link_through_path(notification)
Lovely!
If we want to only show our unread notifications in our drop-down list, we can simply adjust our render call in the app/views/notifications/_notification_dropdown.html.haml file to:
= render current_user.notifications.where(read: false)
Don’t forget to change the notification count line as well if you decide to go this way!
As for how you display your notifications, I’ll leave it to you! Scary huh.
If you’d like to show both your read and unread notifications in the drop-down menu but style them differently (Facebook style), you can simply add a special class to the notifications that are read and style them appropriately! If you need more help with this, leave a comment below and I will happily guide you in the right direction.
Pagination & viewing all notifications
Eventually, we’re going to have a lot of notifications (don’t be humble, you’re super popular). This will be an issue with our current drop down box so let’s quickly fix that now.
We can only show the last x amount of notifications by simply adding the last method to the end of our render helper method.
= render current_user.notifications.order('created_at DESC').last(5)
Make that number whatever you want. BUT, now that we’re only showing a limited amount, how do we view all of our notifications?
Let’s handle it Facebook style, by creating a whole new ‘index’ page of our notifications.
At the bottom of your notifications drop-down view, add a couple more lines:
%li.divider{ role: 'separator' }
    %li.text-center= link_to 'View All', notifications_path
If you were to refresh your dashboard now, you’ll get an error because we don’t yet have a route called ‘notifications’. Let’s fix that now. Open the routes.rb file and add this line:
get 'notifications', to: 'notifications#index'
This alone will let us refresh our dashboard, BUT, if you try to click the ‘View All’ link now, you’ll be faced with an error screen letting you know that there is no such action as index in the notifications controller.
Believe in yourself and fix that now. If you’ve been following along with the tutorial so far, we’ve built PLENTY of index pages just like this!
Make sure you add an instance variable within the index action that references ALL of the current users notifications (for the moment). While you’re going, add an index.html.haml view to your views/notifications/ folder and hook it up to your instance variable. List out all of the notifications (even if it looks terrible, just get the data into the view as a big old list).
Pro-tip: Don’t forget to use our _notification.html.haml partial file in your index view.
Alright, loyal reader! Let’s compare solutions.
In my Notifications Controller, I added the following lines:
def index
  @notifications = current_user.notifications
end
And promply added the below line to my brand new views/notifications/index.html.haml file:
= render @notifications
The above line is just a bit of Rails magic that does the exact same thing as this:
- @notifications.each do |notification|
  = render 'notification', notification: notification
Which version looks nicer? I’ll leave that to you to decide.
Navigate to your brand new notification index page via the top dropdown menu and have a quick look.
Not great:
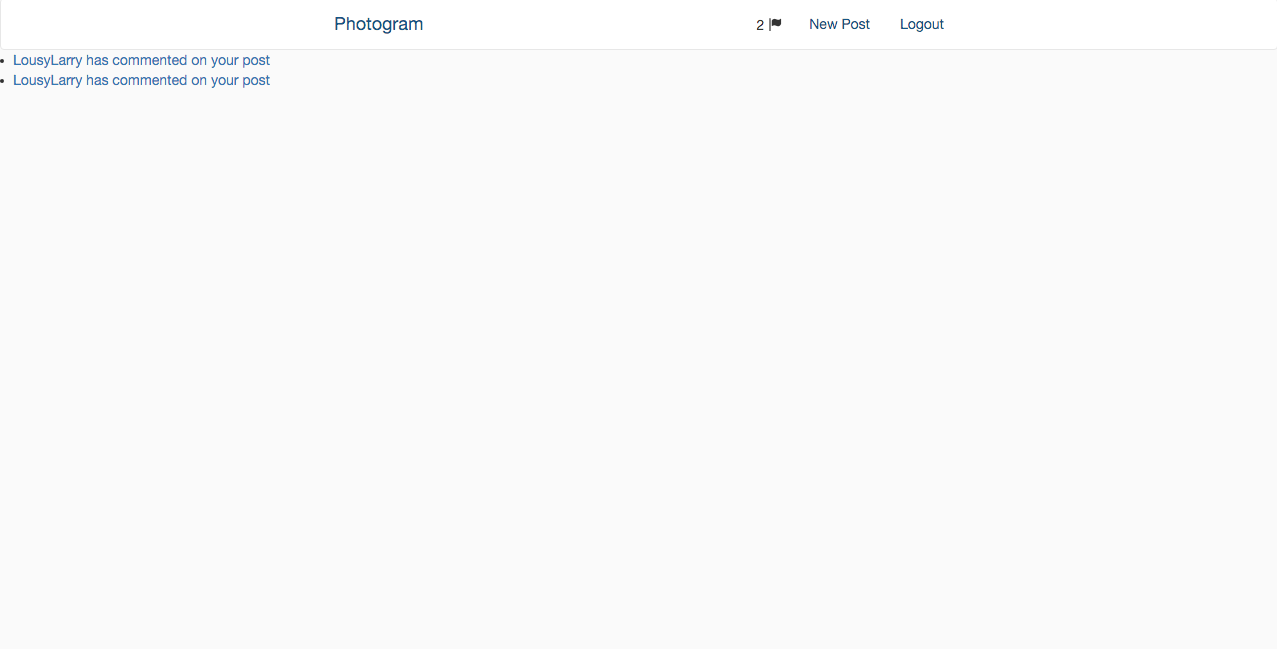
Let’s make it look a little better.
Add some styling to the index view:
.container
  .row
    .col-md-6.col-md-offset-3
      %ul.notification-index-list
        = render @notifications
And now we’ll attack that notification-index-list class in our scss file.
.notification-index-list {
  margin-top: 5em;
  list-style: none;
  li {
    margin-top: 1em;
    background-color: white;
    padding: 1em;
  }
}
If you refresh the page now, it’ll look slightly better.
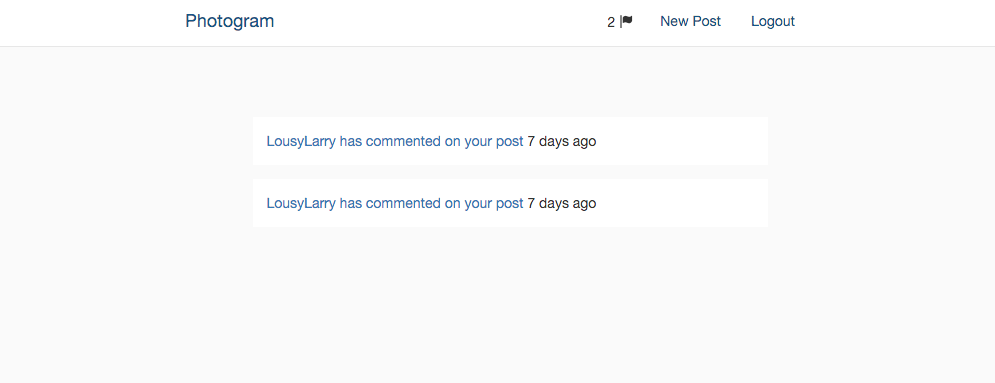
And so we have it! A functional notifications system in Rails.
What would I recommend you do for homework?
- Paginate the notifications in the index view. You’ve done it plenty of times before!
- It’d be great to know when someone commented on our post. We could easily add this with the Rails’
time_ago_in_wordshelper method. - Perhaps create a new partial for our index page that makes it look a little nicer. There probably isn’t enough in common for the drop-down and index page to share the same partial view.
- How good would it be to mark our notifications as read and unread in our notifications dropdown AND index? I imagine that feature would looks very similar to how we add or remove comments in Photogram….
- Divide our index page into read and unread. You could do this by styling the read and unread items differently or completely separate them into different pages.
- Add notifications for likes! Think about how you did it for comments and just apply the same logic to the ‘like’ action in the posts controller! There will be some differences though with regards to the
notice_typeandidentifierparameters of the new Notification.
It’s Great to Build Non-CRUD Rails Features
I even love writing about it! If there are any features you’d like me to cover in future articles, please let me know in the comments below. If the above homework is too tricky, I can even write a Part B to this article!
All the very best in your programming education. Until next time.